
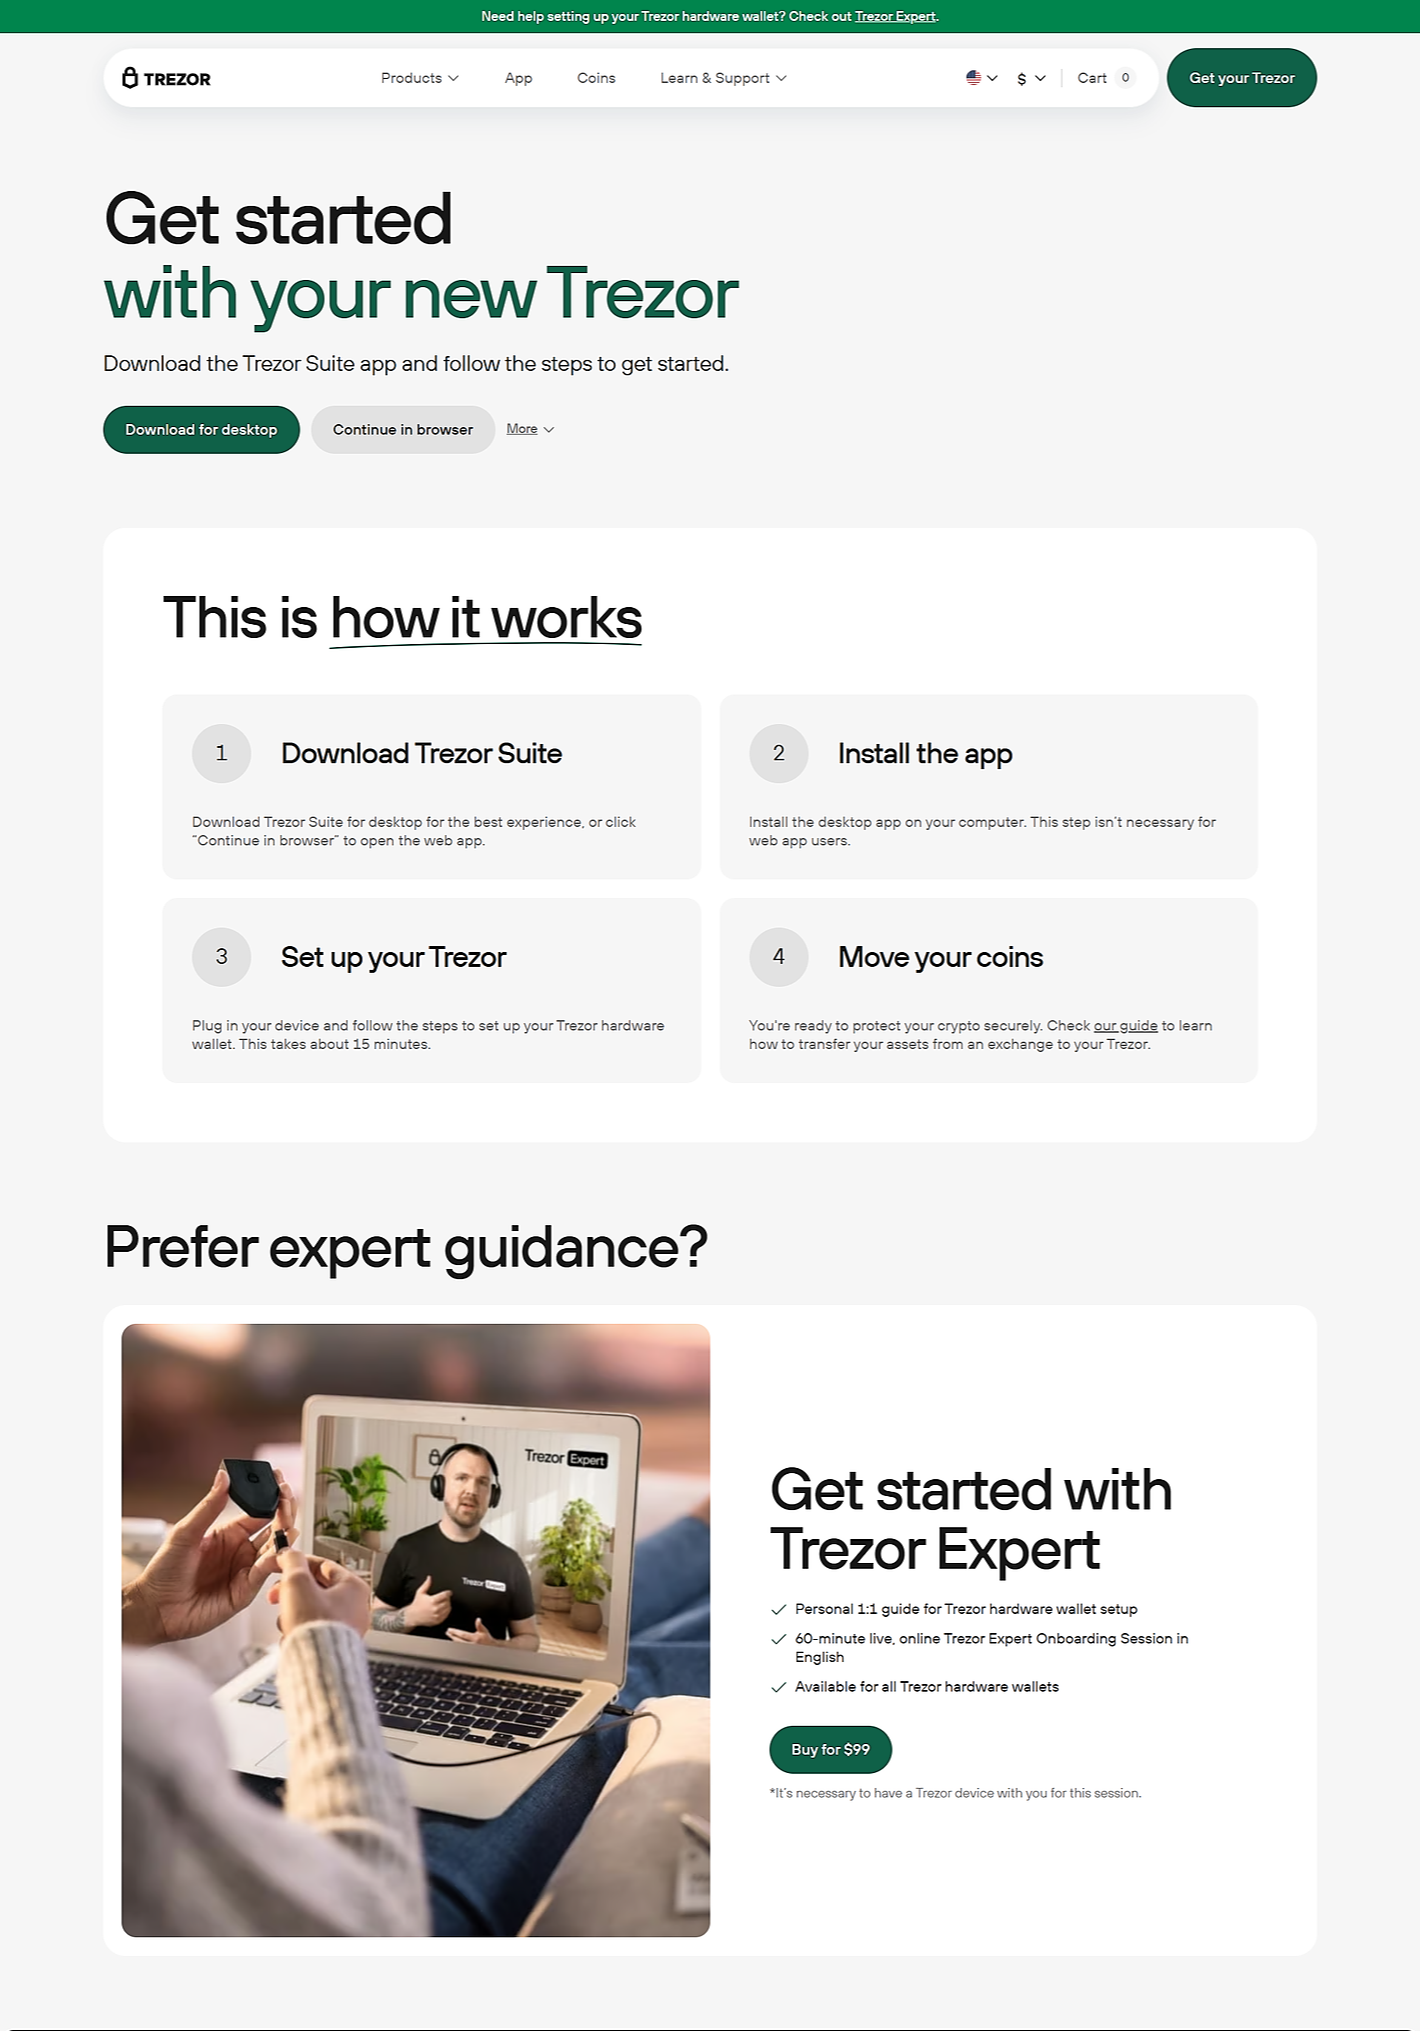
Trezor Suite is an official desktop and web application created by SatoshiLabs for managing your Trezor hardware wallet. It’s an all-in-one crypto management hub where you can securely store, send, receive, and exchange cryptocurrencies. Unlike browser extensions or third-party wallets, Trezor Suite integrates directly with your physical Trezor device, ensuring your private keys never leave the hardware wallet.
Trezor Suite enhances your security and usability. It offers advanced features like coin control, Tor integration for privacy, improved transaction labeling, and regular updates. It’s available for Windows, macOS, and Linux, and there’s also a browser-based version at suite.trezor.io/web for quick access.
Purchase a genuine Trezor hardware wallet from trezor.io. There are two models: Trezor Model One and Trezor Model T. Unbox it carefully and ensure it’s sealed.
Go to trezor.io/start. Click ‘Download Trezor Suite’ for your operating system (Windows, macOS, or Linux). Install it like any other program. Always download from the official site to avoid phishing scams.
Plug your Trezor device into your computer using the provided USB cable. Open Trezor Suite. The app will detect your device and guide you through setting it up if it’s brand new.
If it’s your first time, click ‘Create new wallet’ and follow the instructions. Your Trezor will generate a recovery seed (12, 18, or 24 words). Write this down on paper—never store it digitally. This seed is the only backup of your wallet. If you already have a Trezor, select ‘Recover wallet’ and enter your recovery seed on the device.
Set a secure PIN code on your device. This protects your funds if someone gains physical access to your Trezor. Memorize your PIN—losing it means you’ll need to recover your wallet using the seed.
Once your wallet is set up, the Trezor Suite dashboard will display your portfolio, balances, and transaction history. You can add multiple accounts for different coins like Bitcoin, Ethereum, or Litecoin.
To receive crypto, click ‘Receive’, select the coin, and verify the address shown on your Trezor’s screen matches the one on Trezor Suite. Share this address with the sender. Always double-check on the physical device to prevent address tampering.
Click ‘Send’, choose the coin, enter the recipient’s address and amount. Confirm transaction details on your Trezor device and approve the transaction physically. This step keeps your private keys safe from malware.
Trezor Suite offers tools like coin control, transaction labeling, and connecting through Tor for anonymity. Explore the ‘Settings’ tab to customize these features to match your security and privacy needs.
Regularly check for firmware updates. When Trezor Suite notifies you, follow the prompts to update. This ensures you have the latest security patches and features.
Always verify addresses on your device screen.
Never share your recovery seed.
Use Trezor Suite’s built-in exchange feature to swap coins securely.
Back up your recovery seed offline in a safe place.